In your reply to the original post, you stated that you wish to achieve three things:
1. Create a screenshot of a certain area
For this, you can use the Capture Screenshot (configurable) action, which I believe you are already aware of.
Open the Configure Screenshot Options window. In the Path field, enter the path to the folder where your screenshot is to be saved. I believe the default folder path is ~/Pictures/ ("~/" is shorthand for your home folder, which is usually located at /Users/<username>/), but you could use /private/tmp/, which is specifically for temporary files that are automatically expunged by the system periodically.
In the File name field, enter a filename that is unlikely to be the name of an already-existing file in the folder path you specified. For example, "_btt_#{datetime}#-screenshot". Here, the filename makes use of the {datetime} placeholder variable, so it's sensible to edit the {datetime} Format field to something sensible (although it appears to use Java's SimpleDateFormat for some bizarre reason, which is a bizarre choice used in only one other place on macOS, to give the illusion that one can format the menu bar clock), such as: "yyyy;DDD];HHmm", which will print the four-digit year, the three-digit day of the year [001-366], a two-digit hour [00-23], and a two-digit month [01-12], with semicolons either side of day numeral. At the time of writing, the current date and time in this format appears as 2023;208;0434.
Now, when this action runs, the screenshot is captured and saved to the file at the following path:
/private/tmp/_btt_#2023;208;0434#-screenshot.png
This is the path template that is assumed from this point on. The reason it was constructed with intent this way was in order to make it easy to locate in a moment when it needs renaming.
2. Rename it to "blabla_{clipboard item}"
To do this, use the Execute Shell Script / Task action, with the following:
# First obtain a list of filepaths to screenshots
# date-stamped today by matching against the filepath
# constructed above.  This uses uses the current year
# and current day of the year, but allows for variation
# in the part of the filename that comes after the
# second semicolon and before the "-screenshot" suffix.
# It also allows for any file extension. These variable
# sections of the filepath are denoted by a `*`
#  ↳ NB. If no files match, the script
#        terminates here with an error
fs=( "/private/tmp/_btt_#$( date +'%Y;%j;'
                          )"*-screenshot.*
   ) || exit 1

fp="$fs[1]"               # The first file from te above list
dir="${fp%/*}"            # The directory containing the file
ext="${fp##*.}"           # The file extension
pb="$(pbpaste)"           # The current contents of the clipboard

# This is your new desired file name
# which includes the clipboard entry
# and the file extension, but not the
# folder path
#  ↳ Replace "blabla_" if needed
f="blabla_${pb}.${ext}"

# Rename the file
mv "$fp" "$dir/$f"
3. Upload to a certain folder on my FTP server
This can also be done with shell scripting. Therefore, the above script is not yet complete until you add the following lines below mv "$fp" "$dir/$f":
me="<USERNAME>"
pw="<PASSWORD>"
ftp_url="ftp://your.server.to/upload/folderpath"
curl -s -T "$dir/$f" -u "$me":"$pw" "$ftp_url" || exit 3

# If the file does not upload successfully, the script
# terminates and exits with an error, and the lines of
# code below will NOT be executed.

# Upon success, you can choose what you wish to happen
# next by removing the leading colon from one (not both)
# of the two lines that follows, or leave the colon there
# to keep them inert:
: rm "$dir/$f"                # To permanently delete the file
: mv "$dir/$f" ~/Pictures     # To move the file to your Pictures folder

# Finally, this will print the url to the remote location of
# the uploaded file on your ftp server, which is simply the
# ftp_url followed by the file's name and extension
printf '%s' "$ftp_url/$f"
If you decide to leave the local copy of the file in the temporary items folder (/private/tmp), it will auto-delete following roughly 24 continuous hours without any access attempts being made. Accessing the file will typically reset the countdown, so you can have it remain there indefinitely if you access it daily.
† If his launch path doesn't work for some reason, you can use "/bin/zsh" (without the quotes) ‡ If you end up using /bin/zsh for the launch path, the parameters will simply be "-c" (without the quotes)
@CJK I am sorry for my awkward formulation - your explanation was not clear enough to me, but the reason is my insufficient skills apparently. Thanks for your great tutorial, I do appreciate it very much, and thank you for that - I will test it now and then let you know if everything worked out.
herzlichen Dank! I appreciate your version - I will try both and see what works better. Really great that you share your knowledge here - it is not a natural thing
your script is much easier - I had problems with the shell script on my Macbook since the {datetime} and $( date +'%Y;%j;') return two different date formats and the file therefore can't be found. Using your Java script it worked amazingly.
Do you maybe have a Java script as the next step to the first one you offered, for the task Upload to a certain folder on my FTP server? Since I took your Java script to make a screenshot and rename it, I can't connect the process now to the solution for FTP uploading provided by respected @CJK .
Also my last question: how can I rename the file using your Java script by adding a timestamp of the format "2023-07-28 01.45.26"? The solution offered here (How do I get the current date in JavaScript? - Stack Overflow - Quick Links) did not work out somehow:
new Date().format('Y-m-d h.i.s');
Thanks in advance if you could find time to help here
If you use this script it will run the terminal command stored in the BetterTouchTool settings file. (I need to change that, so the command can be included directly in the action)
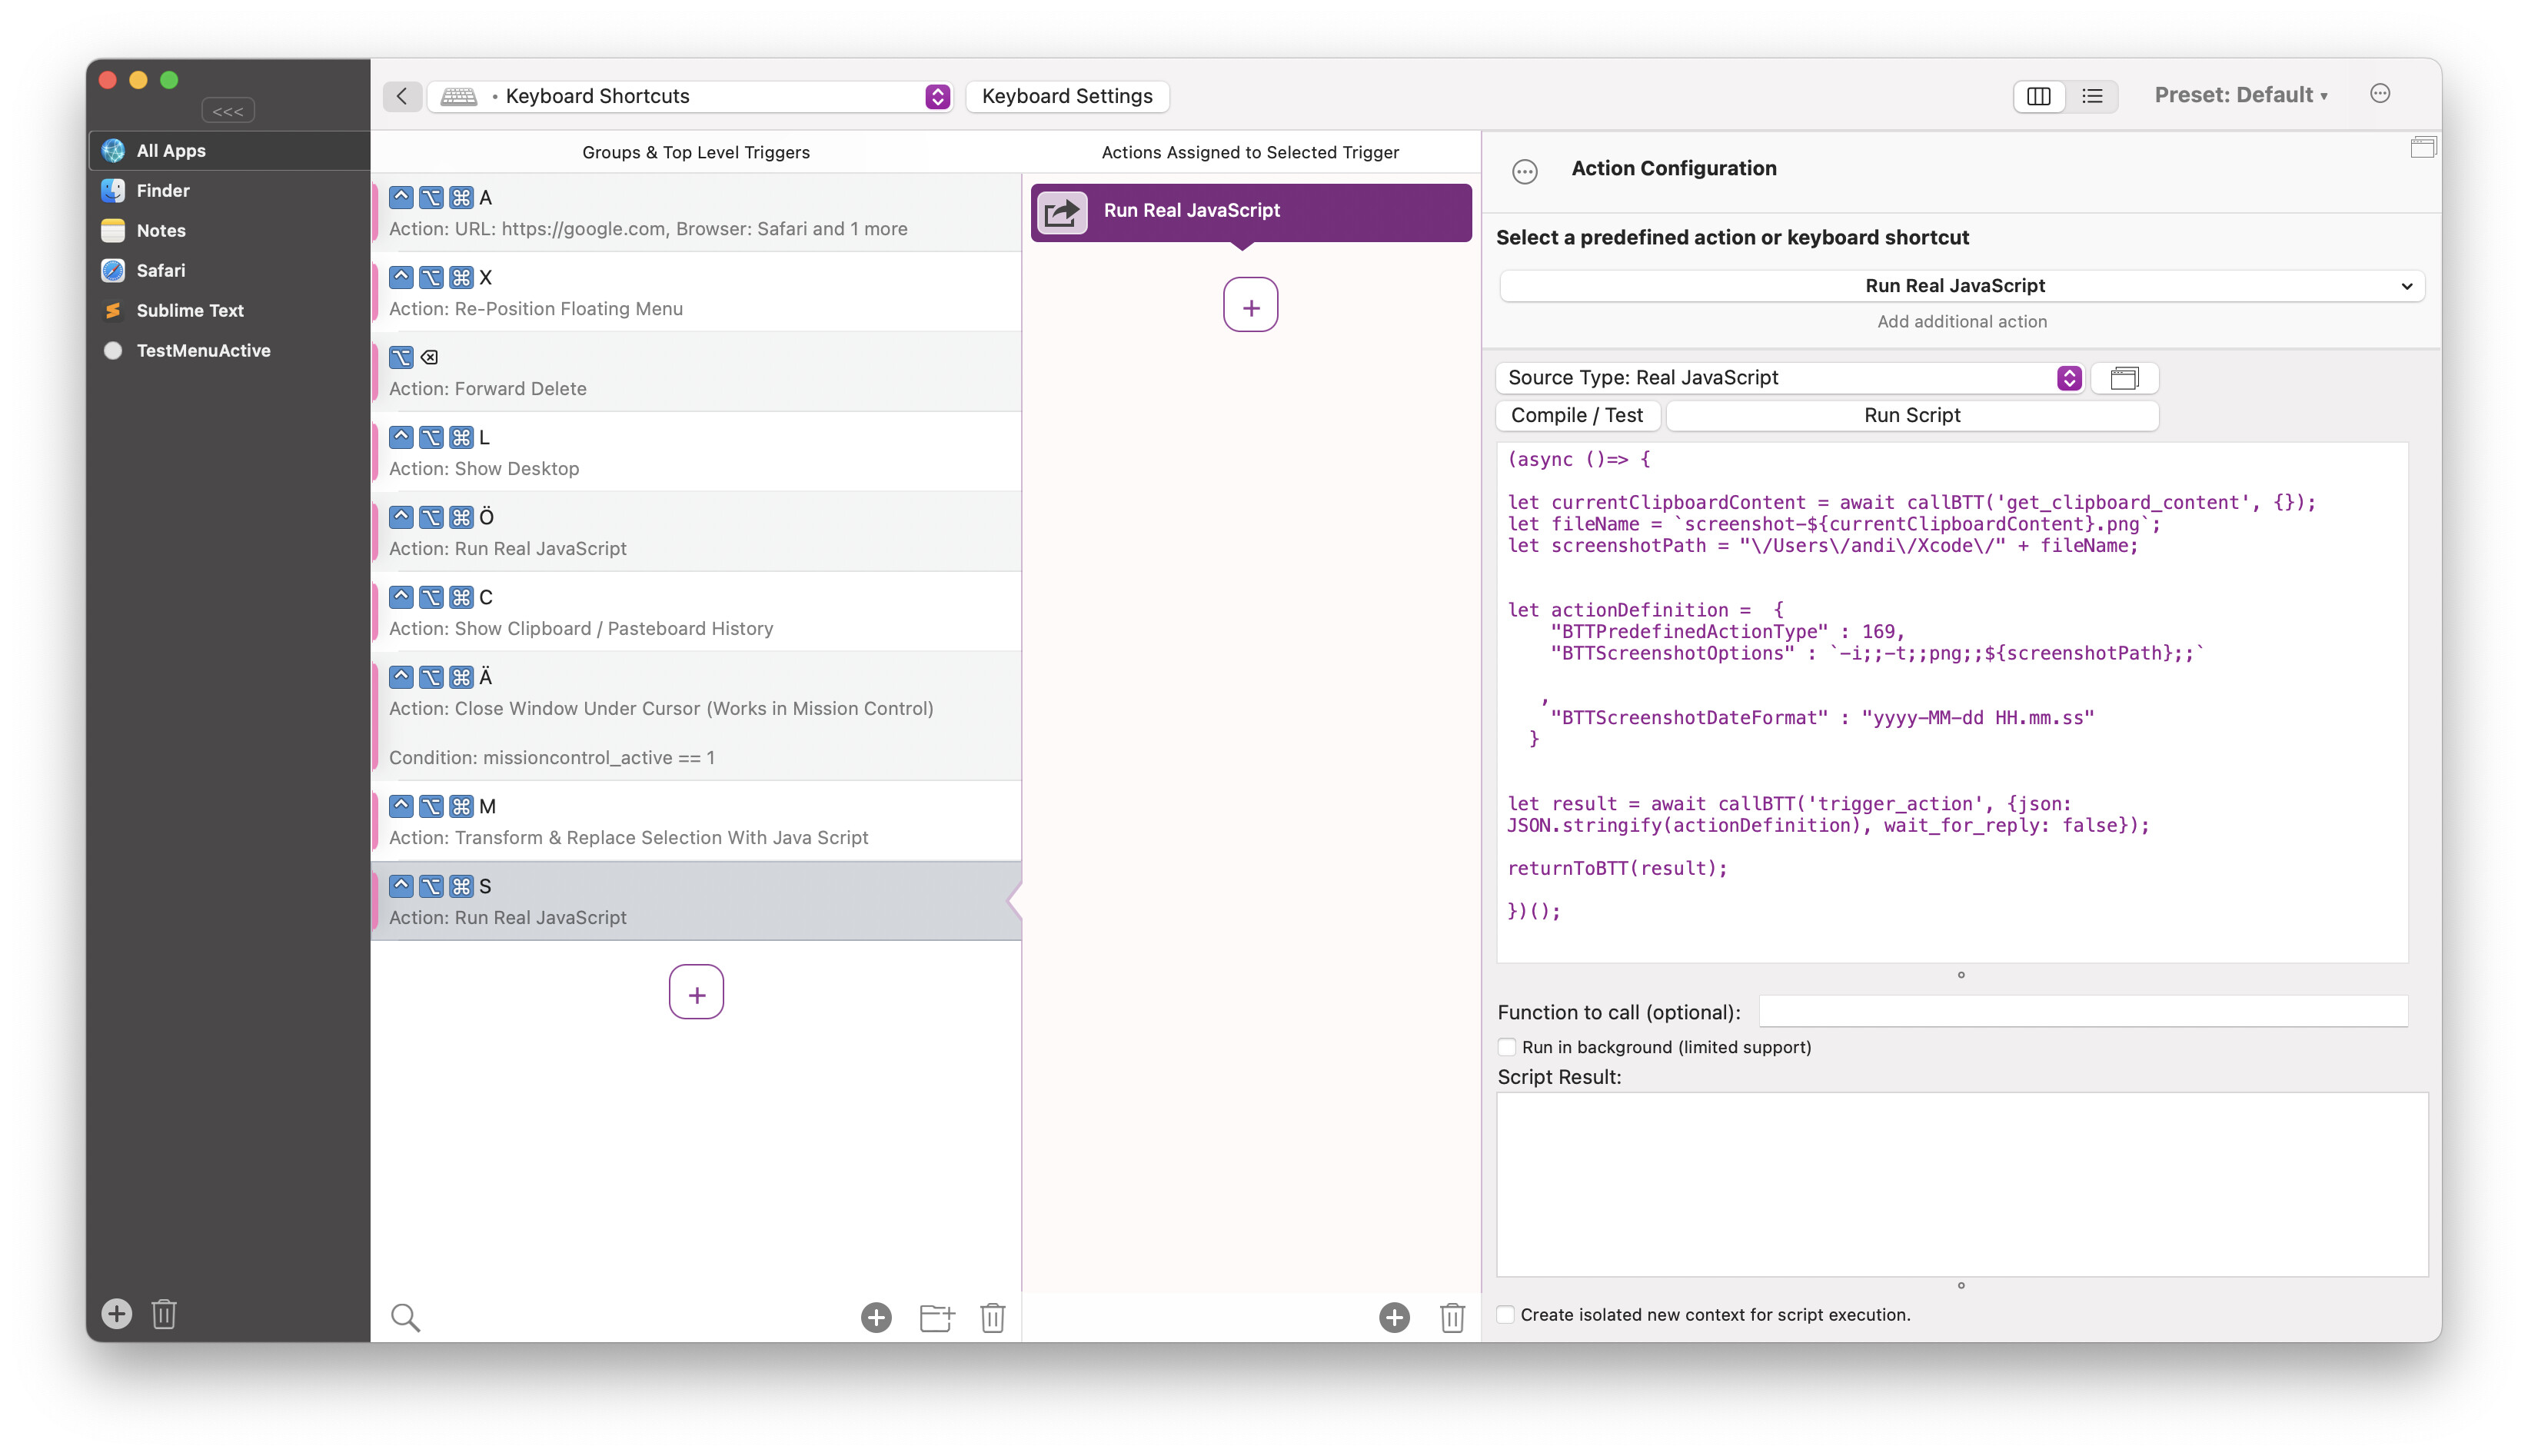
(async ()=> {

const now = new Date();
const year = now.getFullYear();
const month = String(now.getMonth() + 1).padStart(2, '0');
const day = String(now.getDate()).padStart(2, '0');
const hours = String(now.getHours()).padStart(2, '0');
const minutes = String(now.getMinutes()).padStart(2, '0');
const seconds = String(now.getSeconds()).padStart(2, '0');

const currentTime = `${year}-${month}-${day} ${hours}.${minutes}.${seconds}`;


let currentClipboardContent = await callBTT('get_clipboard_content', {});
let fileName = `screenshot-${currentClipboardContent}-${currentTime}.png`;
// slashes or spacesin paths must be escaped
let screenshotPath = "\/Users\/someuser\/Pictures\/" + fileName;


let actionDefinition =  {
    "BTTPredefinedActionType" : 169,
    "BTTScreenshotOptions" : `-i;;-t;;png;;BTTRunTerminalCommand;;${screenshotPath};;`,
    "BTTScreenshotDateFormat" : "yyyy-MM-dd HH.mm.ss"
  }


let result = await callBTT('trigger_action', {json: JSON.stringify(actionDefinition), wait_for_reply: false});
returnToBTT(result);

})();
To define the terminal command it should run for uploading to your FTP, you need to execute a terminal command like this while BTT is quit:
You write: "I need to change that, so the command can be included directly in the action"
May I ask, if should I wait until you do this, or I should start using your script? Thx!